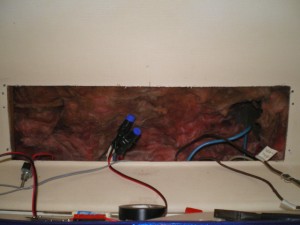
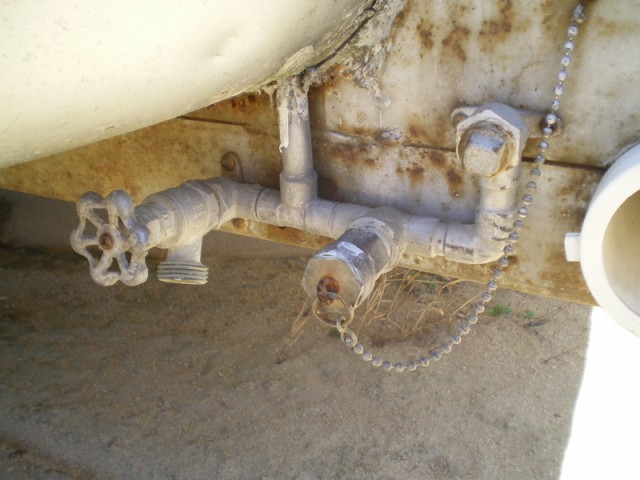
We went to visit our friend down in South Georgia. He has an older Airstream like ours parked in his yard. I was checking it out and noticed this interesting modification on the back. The people who owned it before he did were big into the rally circuit and must of done this, unless it was factory? After some research I found it to be called a rally water distribution system, good for chaining hoses along from trailer to trailer so that everyone has water at the rally.
Archive for the ‘OZO CNC Rebuild’ Category
Rally Water Distribution
Saturday, November 26th, 2011Control Panel – Step 3
Thursday, June 23rd, 2011After removing the board that was our old control panel I fished out the shunt wires and tested to make sure they still had a connection to the back of the trailer. Also at the same time I found the brown insulated multi conductor wires for the water tanks sensors.
The OZO gets a new Saddle
Wednesday, November 18th, 2009Its time now to build a custom piece of hardware to mount the router to the OZO. Research on the web indicated that people were using MDF for this kind of work. Its dimensionally stable, and easy to machine, though the dust can be kind of toxic. I’ve never worked much with MDF before, preferring real wood or plywood to this glued up particle board.
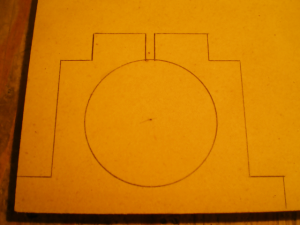
Being an avid scrounger, however, there where a few pieces laying around the shop. So, I decided to use it as the base material for this build. Since I didn’t have a long enough endmill to make it all the way through the 3/4″ material and didn’t know if the current spindle would be up to the task anyway, I made it the old fashioned way, with hand tools and brute force. First I drew the design in Rhino, then, printed and transferred it to the wood with carbon paper.
A New Spindle
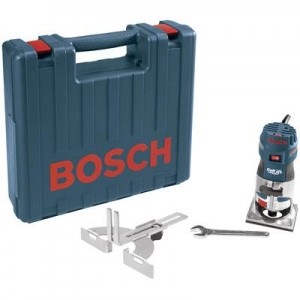
Wednesday, November 18th, 2009For a while now, I have been debating the stoutness of the spindle motor that came with the OZO. It is very quite and high speed but seems to lack enough torque to really bite down and make deeper cuts. The last thing I cut with the machine, oh so long ago now, was thin plywood. I tried to cut the whole thickness in one pass, and while the spindle managed the chore it screeched and whined and complained the whole time. Continuing to use it in that capacity would eventually wear it out and break it. I decided to save it back for finer task, like circuit board milling (probably what it was designed for) and move on to something with a little more guts.
After researching many CNC forums and DIY build write ups I decided on this.
Dumpster T-Slots =/
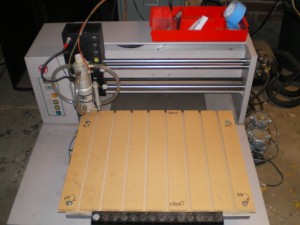
Thursday, November 20th, 2008Out behind the local Pier One and leaning up against the bin was this really neat looking T slot material. Not real wood mind you, but still fairly stout and it should work for the kind of small stuff that I have been cutting. This is what it looks like installed.
Close Control
Thursday, September 18th, 2008The opposite of remote control.
So far, considerable time is being spent, finding the Zero position on the work. Part of the reason has been that the computer keyboard and the machine are about 10 feet apart and my back is to the machine while I am at the keyboard controlling it. This has led to some body contortions and running back and forth about 10 times to tweak the machine into the X0 Y0 position.
The solution, a pendant!
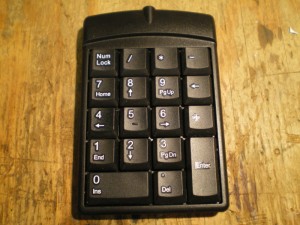
I found this el cheapo USB numeric keypad at Big Lots $6
Finding that edge
Thursday, September 18th, 2008When setting up the machine its proved hard to tell where the bit center is in relation to the work. There is a shroud around the bit and in some instances a brush. This means lowering the Z axis and then eyeballing from the front and the side, peering under the brush with a flashlight, run back to the keyboard, jog, jog etc…
A while back I found this video posted on Hackaday and realized there was a better way.
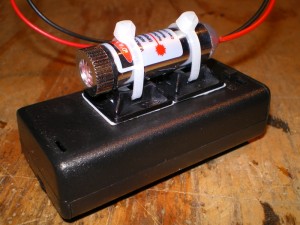
I started with a crosshair laser from deal extreme, yes I ordered other stuff too as it was to hard to resist.
Encoders Revisited
Tuesday, September 9th, 2008Prompted by my friend Michael I decided to take another look at the encoder set up on the OZO machine.
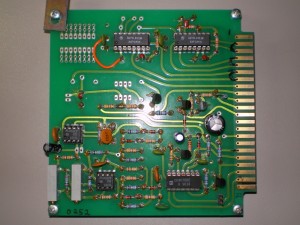
The encoder board, has the spindle signal conditioning circuit mentioned in previous post as well as two SN74LS123 Monostable Multivibrators. Its my guess that these chips act as one shots, conditioning the signals coming from the encoders. On the encoder board pictured below, pin 1 is at the top and 22 is at the bottom. Encoder signals are marked with black connecting lines.
Home is Where the Heart is…
Tuesday, August 5th, 2008Finally figured out the home switches. It turned out to be pretty simple once I got moving on it. There were three wires coming out of each optical switch. After probing around, it was discovered that:
Purple was +5 volts
Yellow carried the signal, either high or low of the switch
Black was connected to ground.
These connections were found by carefully piercing the the insulation of each of the 3 wires with a sharp stick pin and then probing with a continuity meter in the wiring box to locate were the connection came out. Once the associated screw terminals were located, it was pretty easy to use the ohmmeter to find the pins on the parallel port connector.
Chips
Wednesday, July 23rd, 2008Finally, my first cuts in Aluminum and success.
Cuts were made in the aluminum mentioned in the previous post using a 1/8″ two flute endmill purchased from drill bit city. The design was drawn up in CamBam and for some reason I could not get the holes that were in the drawing to port over to EMC. To continue the process and not fight with the software, the holes were omitted. In retrospect this was probably lucky, as the holes were the size of the endmill and there is a good chance trying to plunge the endmill straight down through the aluminum would have resulted in a broken bit.