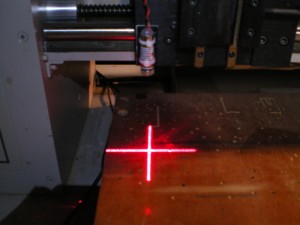
When setting up the machine its proved hard to tell where the bit center is in relation to the work. There is a shroud around the bit and in some instances a brush. This means lowering the Z axis and then eyeballing from the front and the side, peering under the brush with a flashlight, run back to the keyboard, jog, jog etc…
A while back I found this video posted on Hackaday and realized there was a better way.
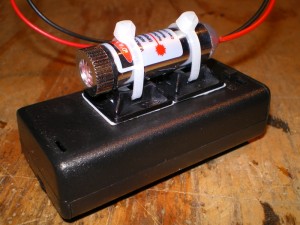
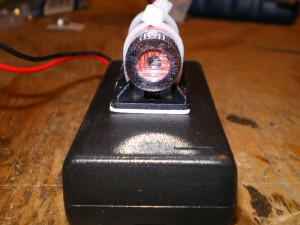
I started with a crosshair laser from deal extreme, yes I ordered other stuff too as it was to hard to resist.
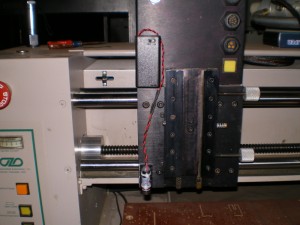
I had to add some hot glue to the wires coming out of the back as they flopped around in the hole and it seemed like vibration might snap them eventually. Also I added an AA battery box with a switch, not up to the max the laser can take, however the cross is very bright at this level and I don’t have to worry with a regulator and all that jazz, simple, quick. The mounting stumped me for a while, but it turned out to be very simple, sticky pad cable ties and velcro.
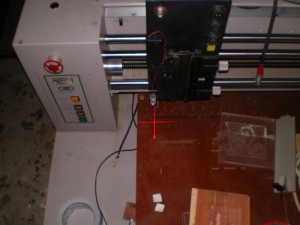
After the laser was mounted and adjusted I added some more hot glue to the end cap, as it was loose enough to seriously effect the position of the cross. Then, I simply marked the spot on the table where the center of the bit was, zeroed the machine at this position, then moved the laser to the center of the marked spot. This gave me the offset coordinates for the X and Y axis. This enables me to find the point on the work that I want to call Zero with the laser and then “TouchOff” to allign the bit with that center. Pretty Cool! Next step is to incorporate the setup procedure into a little Gcode script.
Flash Shot:
No Flash Shot:
Edit: Also see.
CNCzone forum about using a camera to find the center of a hole for zeroing the machine out on the work.
Tags: OZO CNC Rebuild
