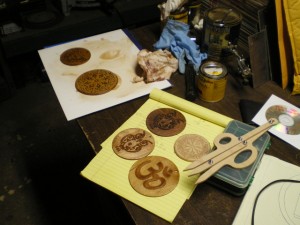
For Christmas this year I decided to put the machine to work on a production run of unique ornaments for friends and family. The goals of this project where to experiment with some different techniques for using the machine and to test out a few ideas for future projects at the same time. The results were good over all and I learned a few things in the process?
The art for the ornaments came from a few different sources.
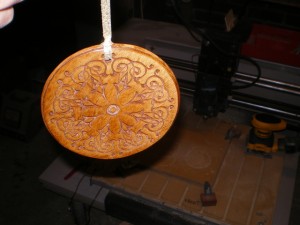
One of these is myDXF they supplied the DXF for the ornament above as DXF 412. Its a great resource for artwork for projects.
Also I made use of google search engines image feature to search for keywords and then try and find suitable artwork. You can even cull through the image search results for specific kinds of images like black and white or line drawings, which helps find types of images that may work for CNC conversion very easy.
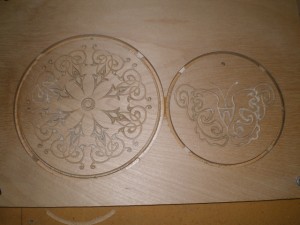
A couple of the images started as jpegs and then got turned into 3D surfaces with a program called zSurf. Hopefully a tutorial will follow on this process, since it seems like a workable way to harvest graphics in an available format, and transfer them into 3D surfaces that you can cut with a CNC machine.
For most of these pieces I imported the artwork into Rhino, and then added a circle for profile cutting. Next I imported into VisualMill, to generate the Gcode. I was trying out VisualMill at the time as it has a nice feature to add tabs to profile cuts. You can see the tabs in the image above. The tabs hold the work in place so it doesn’t come flying out at the end of the cut. After the milling is through you can cut the tabs pretty quickly with a dremel cutting and shaping wheel.
For most designs I used a Vbit and setup an engraving type of job, for the 3D surfaces, I used a 1/8 round nose bit and parallel finish milling procedure. All of the material was .20 inch plywood, free scrap from my local mantel shop.
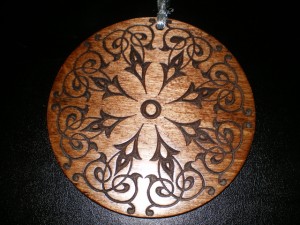
The biggest learning curve came with finishing the pieces. All pieces got coated with stain, either maple or red mahogany, the wood was very light colored and this helped darken the engravings and provided enough contrast to make them visible.
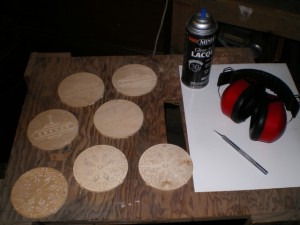
To seal the wood I did the first few with a spray Lacquer from min wax. It comes in an aerosol can and while it gave a fine finish to the pieces, it made it impossible to breath in the basement. Unfortunately it was to cold to use outside, otherwise its a great product, if a little expensive, you can do quick re-coats and get a fine lustrous finish. After a fair amount of research, I ended up doing the rest with a wipe on Varnish, made by Frombys.
The wipe on varnish was very tricky to use. First you have to wait for almost 12 hours between coats, and each coat, gets a little harder to keep dust and other particles out of. I ended up doing and redoing them, trying to get them to look right. Finally I figured out that a light scrubbing with very fine steel wool removes surface bubbles and imperfections during coats, that and a very light touch with a soft lint free cloth, produces pretty nice results.
A couple of the ornaments I tried a surface treatment with before I finished with the frombys. For two I mixed up some black toner with clear two part epoxy and coated the engraving. The idea was to make a sharp dark contrast between the wood and the engraving. This worked but it was very difficult to remove the excess epoxy and also made evident any existing surface defects.
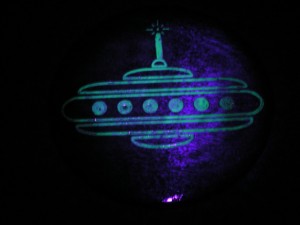
On another I tried some glow in the dark latex paint. This worked fairly well and fit in with the theme of the ornament, but again it was very labor intensive to remove the excess paint. I think possibly a quality scraper my be the way to make this process more workable.
All in all I got to play with lots of different techniques and try some completely new things. Everyone seemed to love them, so we will call it a success.
