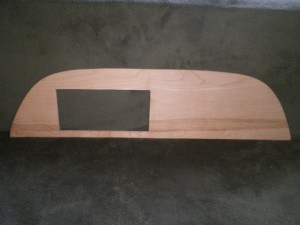
Now it was time to replace the old board, with a new one. We decided to make it a little longer and round the corners to match the contoured curve at the top of the trailer. After some measuring and playing around with the design in Rhino, we made a large paper template and used it to mark out the board. Unfortunately the size of the board was to large to fit in the CNC, or I could have made a perfect cut, instead I had to resort to the old scroll saw.
The cut out on the left will be for the electronics insert module that contains the Voltage and Current Meters as well as a 4 line LCD hooked to an Arduino for custom sensors and logging. Hey, come on you didn’t think I could leave a microcontroller out of this now did you? The space on the right will be for later expansion, possibly a trimetric, or if I can’t work out tank sensors on my own, some after market tank sensor.
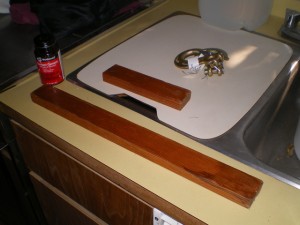
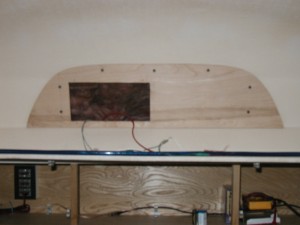
In order to mount the new board to the fiberglass I added some small wood strips around the boarder with WeldWood contact adhesive, and drilled holes for the wood screws. This gives you a wood backer strip to screw into and sandwiches the fiberglass in between.
And here is what it looks like all “Screwed UP” 😉


