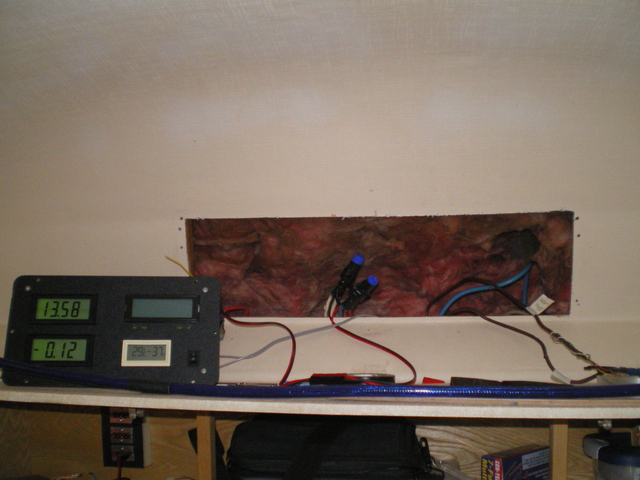
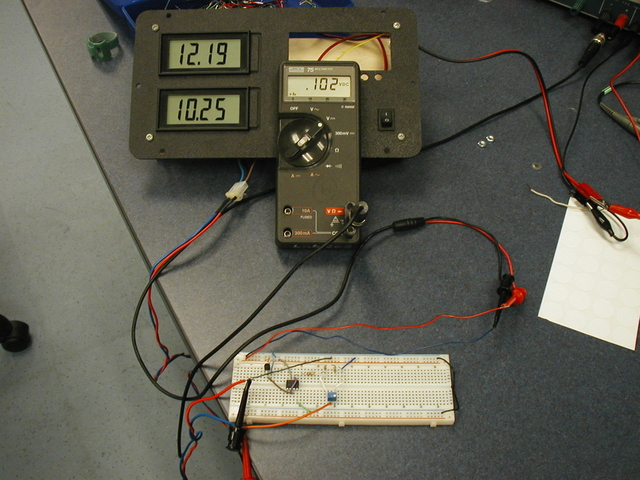
Finally Electronics. 😉 I ordered some nice big LCD panel meters from Circuit Specialist. I felt a little foolish doing this as a whole harbor freight multi meter only costs 5$ 1/3 of the price of fancy snap in panel meter, but, the harbor freight meters rely on a 9V battery and are physically large and hard to mount.

The panel meters are the type with common ground and can measure the same voltage that they are being powered from. They make it possible to run the meters off the trailer battery and avoid the tedium of removing the panel to change the batteries.
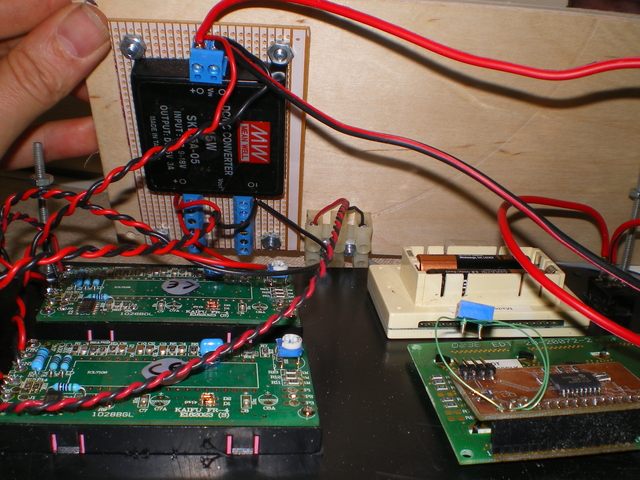
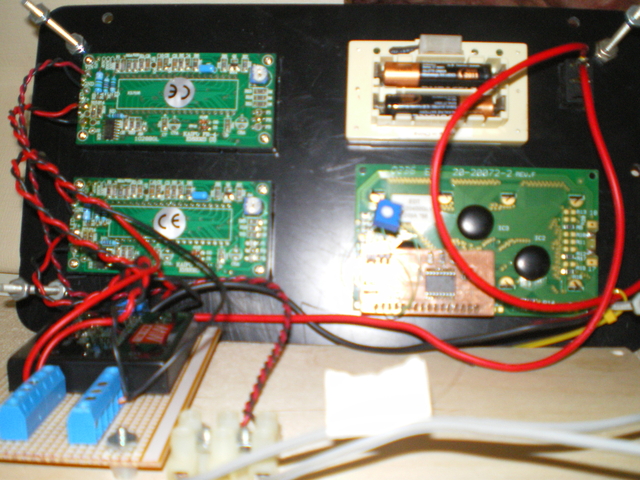
More time with Rhino produced a rough draft of the mounting plate and I milled it out on the CNC. Later this section may be remade of aluminum. The plastic forms the front bezel and there is a wood back plate that sits behind on standoffs. The electronics are bolted to the wood back plate and the panel meters snap in the front plastic bezel.
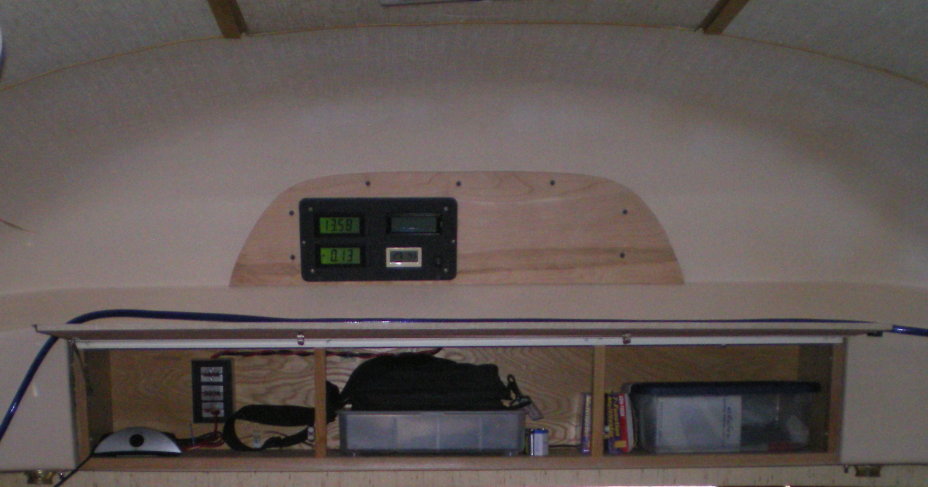
I added a cheap humidity/temperature gauge that I had laying around to the bottom right hand corner. The Arduino LCD is above and the Voltage and Amperage LCD’s are on the left. The module plugs into battery power with Anderson Power Poles and has an on/off switch on the front.
Here is a picture of what it looks like installed…

It looks pretty professional, however 😉 it doesn’t work. At least not yet. The battery voltage reading is perfect, but the current actually goes down, the more stuff you turn on. Nope, its not hooked up backwards. but it did take me a while to figure it out. More in the next post. For now here is a gallery of some of the development.