On a recent camping trip some fellow campers waved to us as we went by. “Hey, you know you got a tail light out?” Us, “What, hmmm, it was working when we left from home”, them, shrugging “It happens.”
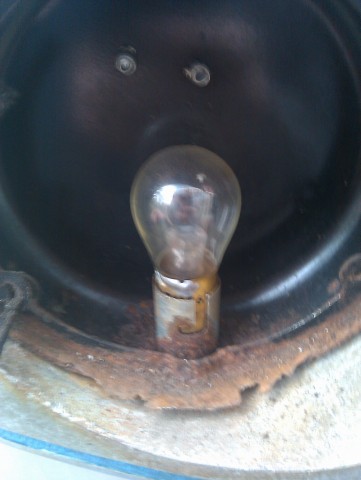
When we finally got our site picked out we had a look. Yup, tail light on, but boy, dim, I guess, if you can’t see it without getting down and peering in there and squinting then it aint really “ON”.
On our trip home we discussed the importance of tail lights etc.. lucky for us no one creamed into us during the conversation. We decided we needed to fix the situation for good, possibly we could upgrade, to LEDs
The first free weekend after our trip I had a look. The tail-turn-brake lights where an after market addition. Basically someone had taken some cheap metal can lights and sort of beat them into the holes that the orignal lights had occupied. They worked but barely, very dim. The backup lights looked original, but the lenses were cracked and they didn’t work at all, not good if you are backing into a campsite late at night.
Hours of research on ebay and the airforums eventually thankfully landed me on Dans LED4RV site. Finally, I thought I had figured out what I needed to buy, but still was a little unsure so emailed the site to check on a couple of things.
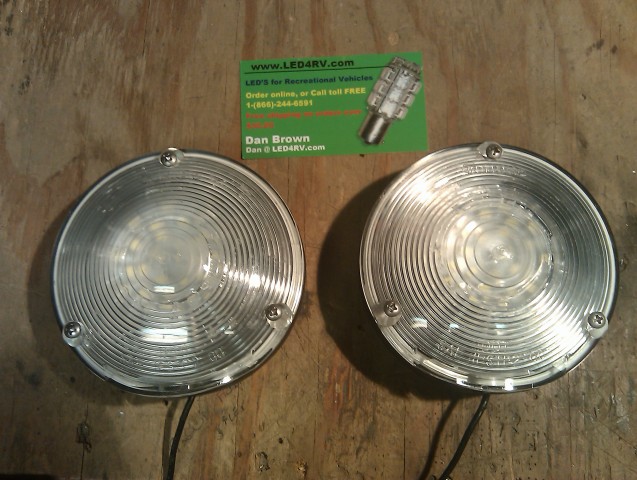
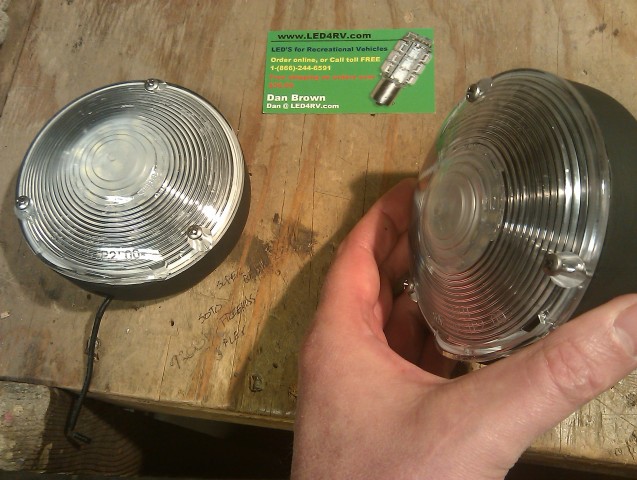
All I can say is wow. What followed was a flurry of emails with Dan that eventually got a box rolling my way. I was upgrading to two Tail-Turn-Stop lights with 10 LEDS each and two 32 LED each backup lights, all this for about 20$ a light. Not bad I think for lights that should never burn out and should be very bright and visible even in sunlight.
Let me say also that you can find tons of these LED Stop-Tail-Turn lights on ebay but it is very hard to get specific data on them. In my case the lights have to fit into a very specialized hole in an Aluminum Cast piece. Lots of sellers don’t list enough information to make a good decision. Also, unlike specifications for individual LEDs most sellers don’t give you much data on the light other then how many leds.
This is not enough to make a decision. Its important to know how many LEDs how bright they are how much current the light draws etc… LED technology is constantly evolving and with sellers on Ebay it was hard to tell if I was buying something that was 5 years old or cutting edge, no way to know.
Dan helped answer all my questions and he understood my type of trailer and the special needs that I had when working on a vintage airstream. VERY GOOD!!! and left me feeling confident that I was buying the right thing. Thats important when consider that this is supposed to be a one time install that should last into the future and safety is a concern.
ON TO THE INSTALL
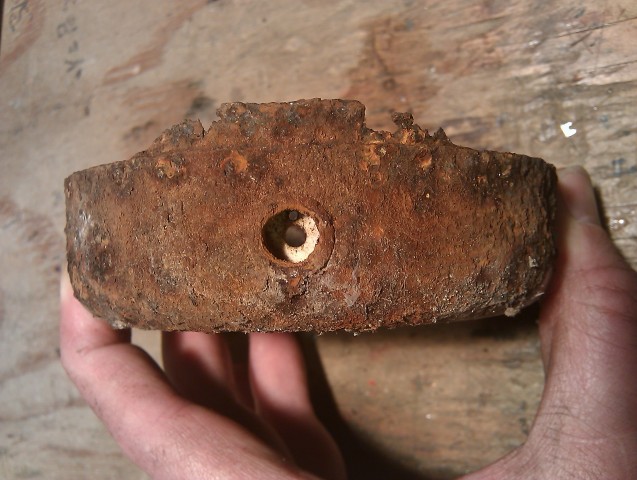
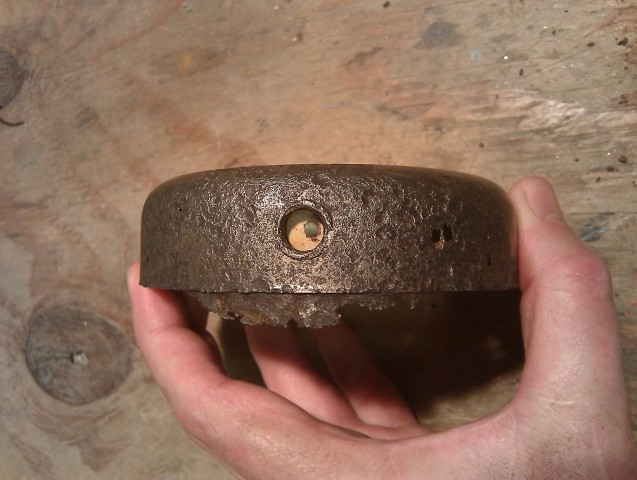
I decided to tackle the backup lights first. The lights I ordered fit into the original Steel cans that came with the trailer when it was new 42 years ago. Those steel cans are the reason I am sure that the original STOP lights are missing. The steel rusts away and the lights fail. Lucky for us the backup light cans were still present. After a little cajoling I got them out, boy howdy, RUSTY… No wonder the backup lights don’t work. The wires fell out of the bottom of rusty holes.
As luck would have it the same day I got the cans out a post over on the Holy Scrap Hot Springs site gave me an idea for how to get the rust off. I little time spent on youtube and googling around for electrolysis rust removal and I had a plan.
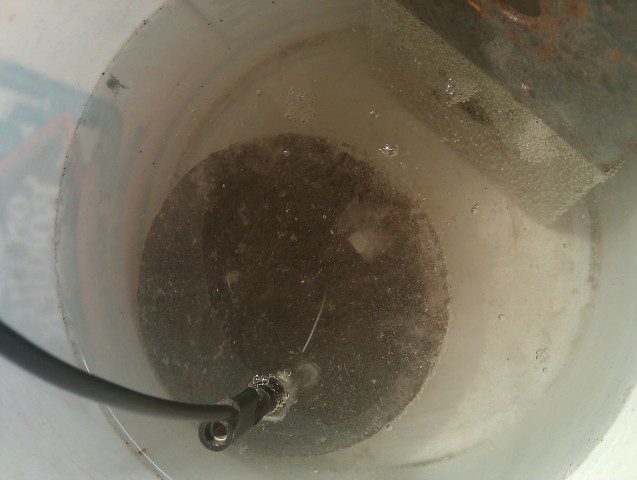
I added a bolt for the cathode connection and grabbed an old scrap of steel for the anode, hooked it up to a power supply and dumped the whole mess in a bucket with water and baking soda and ACTION…
A few moments later I could see the rust coming off…
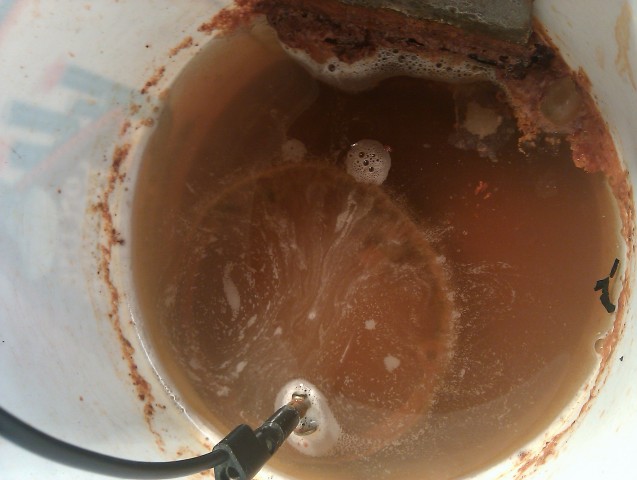
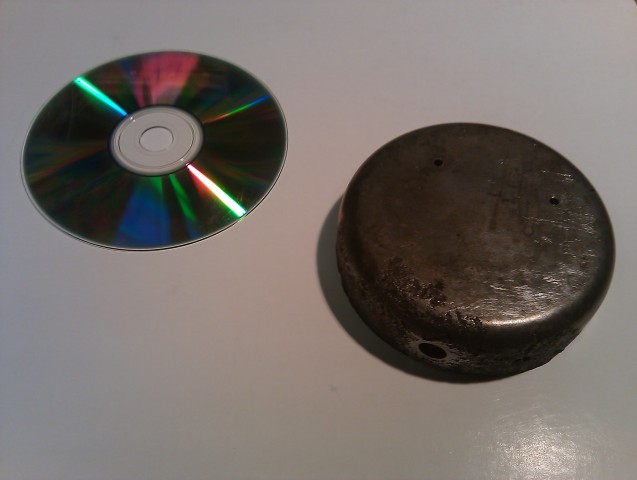
After letting sit in the brew for 24 hours this was the result…
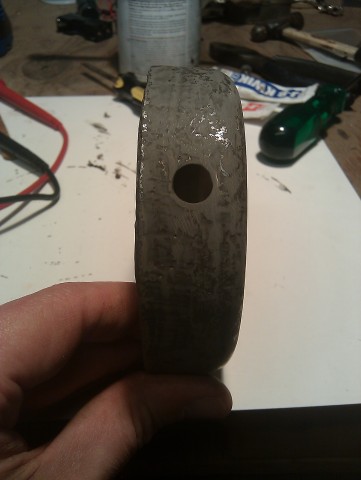
Simply amazing. The process doesn’t fix metal that has rusted away but it does get almost every trace of rust off without damaging anything else. After the cleanup process, I filed off the really rusted tab at the bottom of the can, it just wasn’t saveable. I filled in all the little holes and pits with epoxy and filed and sanded it all smooth.
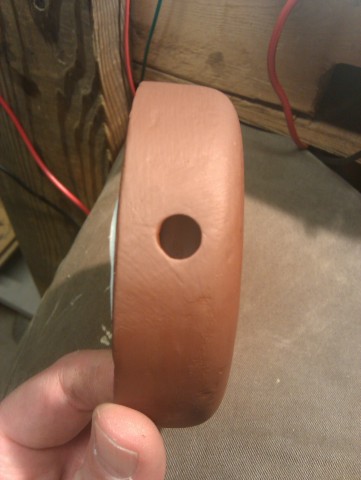
After a good coat of Rustoleum primer…
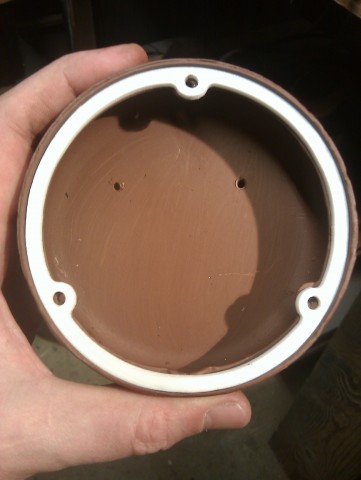
With the new seals in place from LED4RV…
The same process on the other steel can was carried out. Two coats each of Rustoleum flat black and hopefully they are good to go back in the trailer. The new backup lights fit in the old cans perfectly, thank goodness, as I did most of this work in the evenings as I was waiting for the lights to arrive in the mail.
I ordered some new 1156 sockets that I bolted into the bases as the originals were too far rusted to save. The LED lights have a pigtail that plugs into an existing socket if it were there.
Here is the final shot of the lights in there refinished cans waiting for reinstall in the trailer. Best of all they look completely vintage bravo to Dan at LED4RV for tracking these down, if the cans in your trailer where in good shape and the socket were good as well it would be a 10min job to install these new LED backup lights.
You can also purchase new cans, Aluminum ones from Vintage Trailer Supply for about 40.00 dollars each if yours are just to far gone or missing all together.
For me, it was nice to learn to a new technique for rust removal and it makes me very happy that most of trailer is made of aluminum and not steel 😉
OH, and the new backup lights are BRIGHT!!! Should be a real asset when we have to snake back the long road into the campsite in the dark.
