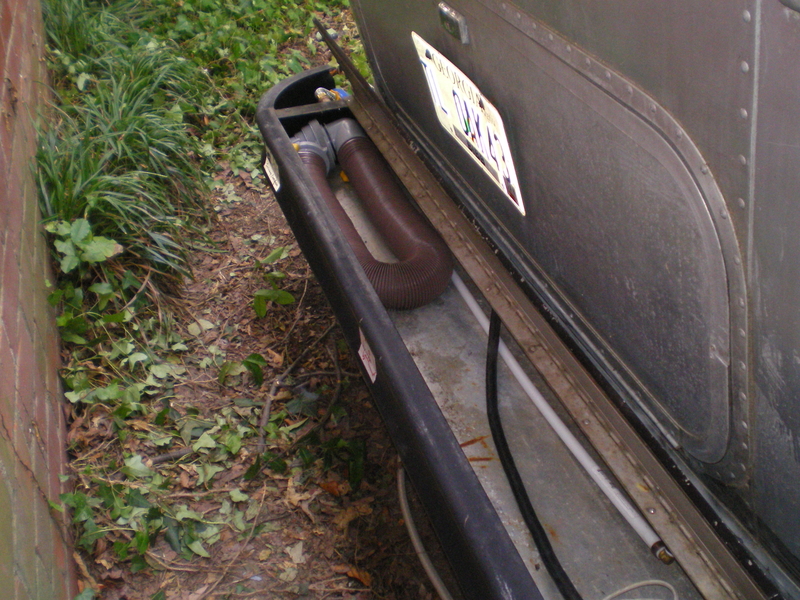
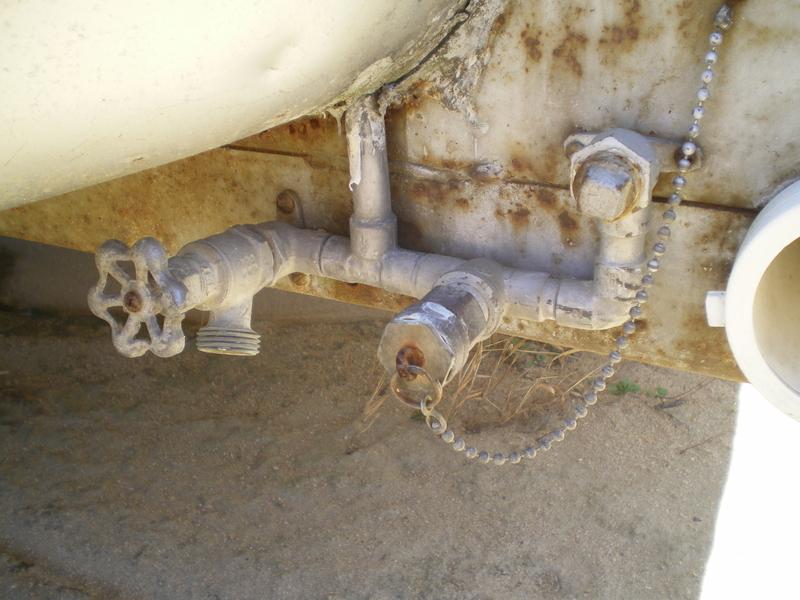
We went to visit our friend down in South Georgia. He has an older Airstream like ours parked in his yard. I was checking it out and noticed this interesting modification on the back. The people who owned it before he did were big into the rally circuit and must of done this, unless it was factory? After some research I found it to be called a rally water distribution system, good for chaining hoses along from trailer to trailer so that everyone has water at the rally.

What a cool invention, I had to have one our trailer too. For the record it seemed simple enough at first glance but turned out to be a real time sink. This is partly because I started mixing the PEX style connectors with the copper, and mostly just because I am not a plumber and had to ramp up on the PEX and the copper. At one point there was about 50$ worth of plumbing parts on the table, Sharkbites, copper fittings, PEX style crimp connects, not to mention the tools needed to put all this stuff together.
We started with a simple plastic hose connector in the trunk, it worked but you had to open the trunk and hook up your fresh water in the same area with the stinky slinky. Also this whole area quickly turns into a mess of hose, gloves, cable hook up adapters etc…

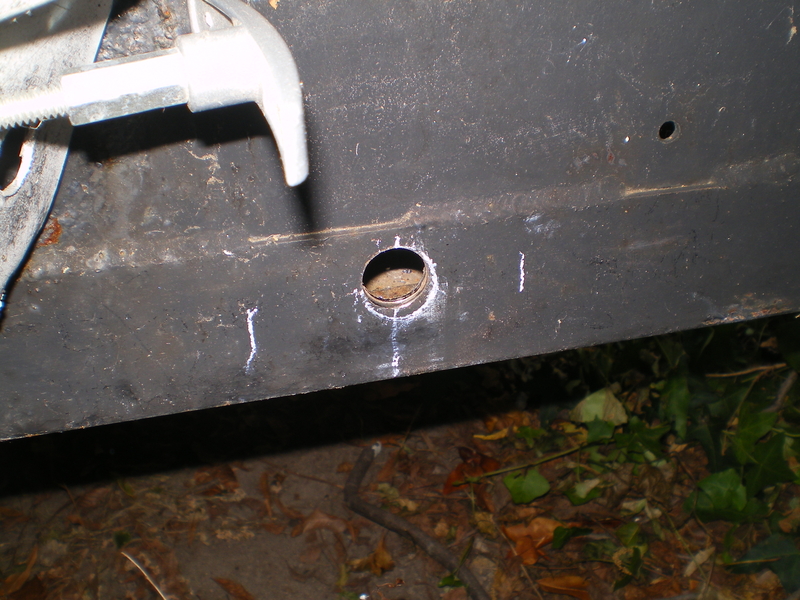
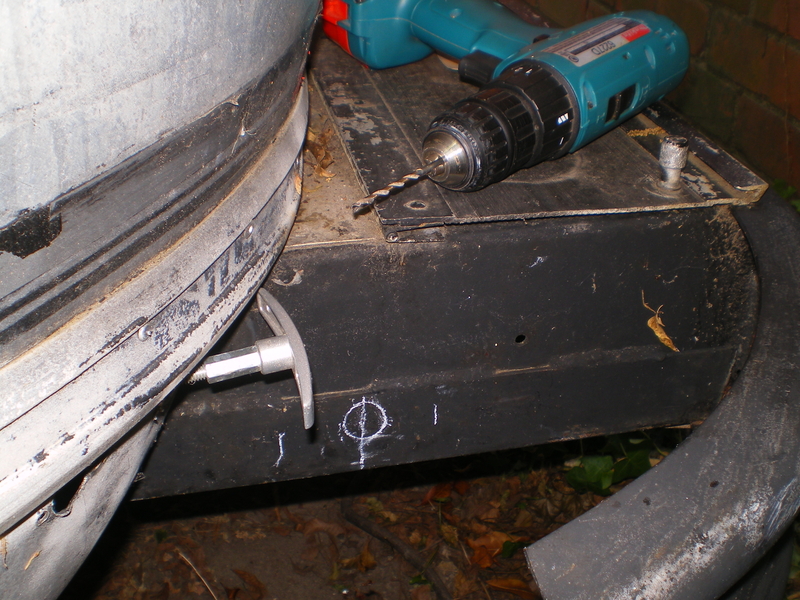
The first step was to see if I could drill a hole behind the bumper curve. It turned into an inside outside drill maneuver. I made a small hole at an angle to mark the spot and then came back on the inside of the bumper to drill it the rest of the way. In the end I used a step drill to widen the hole, amazing invention, the step drill.


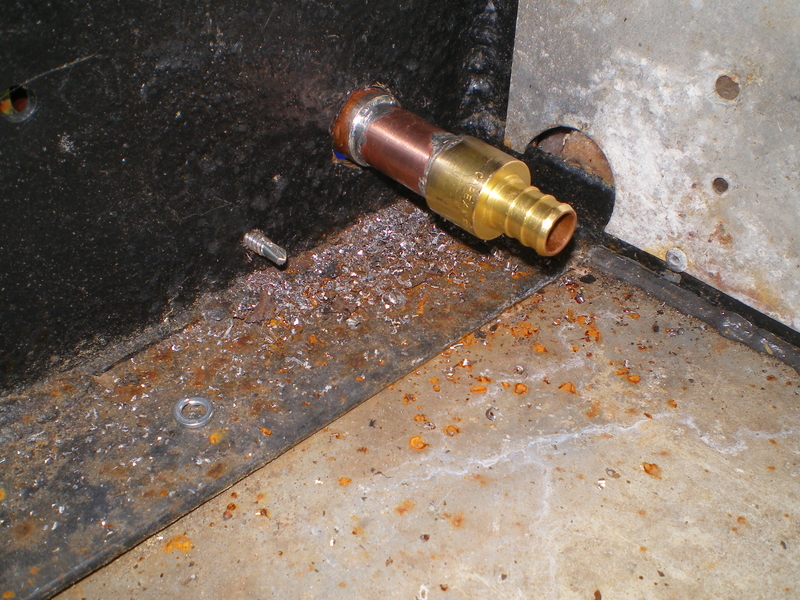
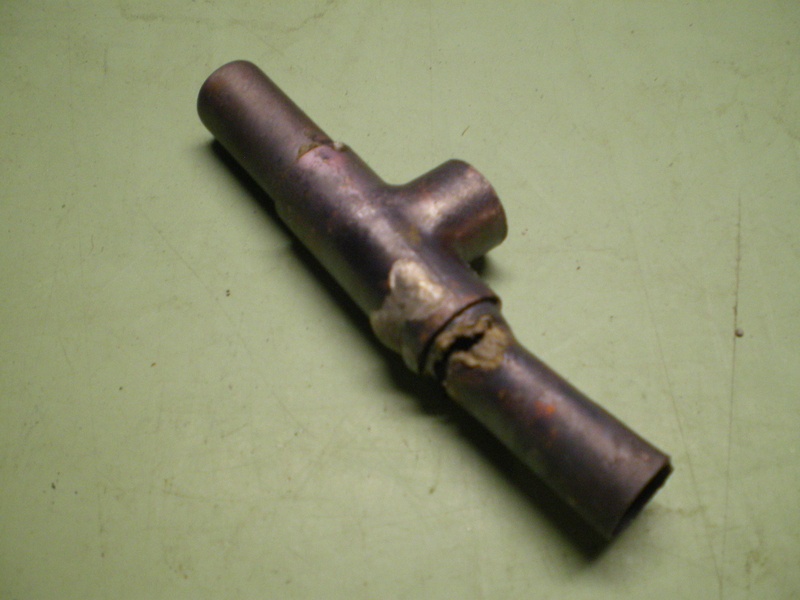
Next, after I thought I had finally figured out the right combination of parts, I had to solder all the copper pieces together. Seems simple enough, watch a few This Old House videos and whip out the propane torch. I mean I solder electronics, tiny surface mount parts even, how hard can it be. Results…
 Ok then, welp some cussing, some jumping up and down, another trip to the hardware store, and some more you tubing and a couple of days later.

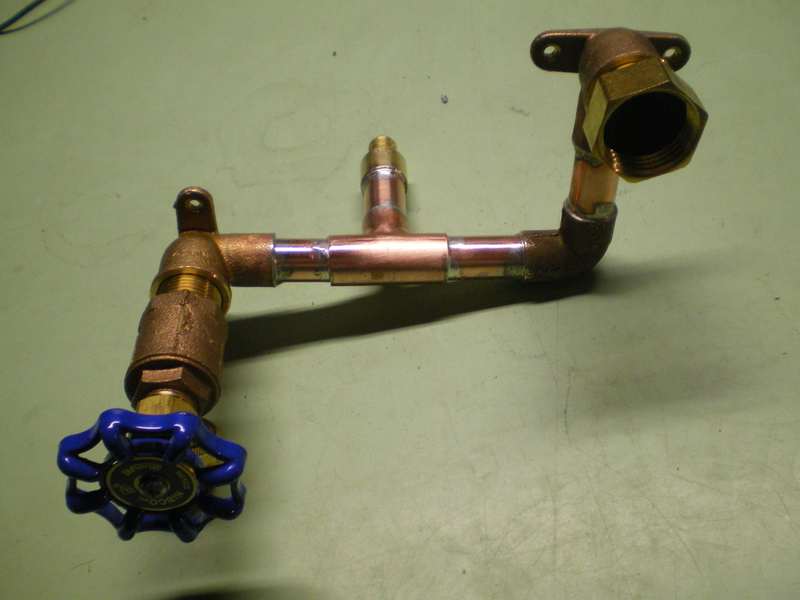
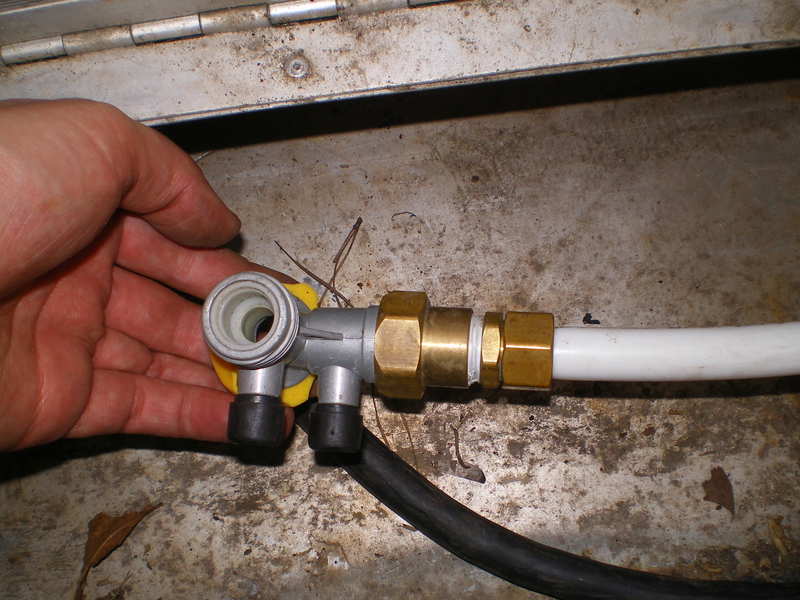
and finally…

All in all it turned out nice, but it was really a whole mini hell to build. In the end I had to connect the PEX crimp on the back to the existing plastic PEX pipe. I ran a new piece along the wall of the trunk. At this point I had dropped so much cash on plumping parts, solder, flux, cleaning brushes, and gas for trips to the hardware that I chinced and bought a crimper that works with a big pair of vise grips. It works but was fiddly to use, I also had to buy a big pair of vise grips to use with it so it probably wasn’t much of a deal in the end. (shakes head) At any rate I reasoned it would be light and small so it would fit in tiny places in the trailer and we could carry it with us to fix the plumbing on the road. All good, but it takes a bigger space to work then I thought and there was not enough play in the pipe between the wall to use it. So eventually I had to dremel off a couple of crimps take the parts out of the wall, crimp everything together and then reinsert and do the last crimp. Really pushed me over the edge in the end 😉
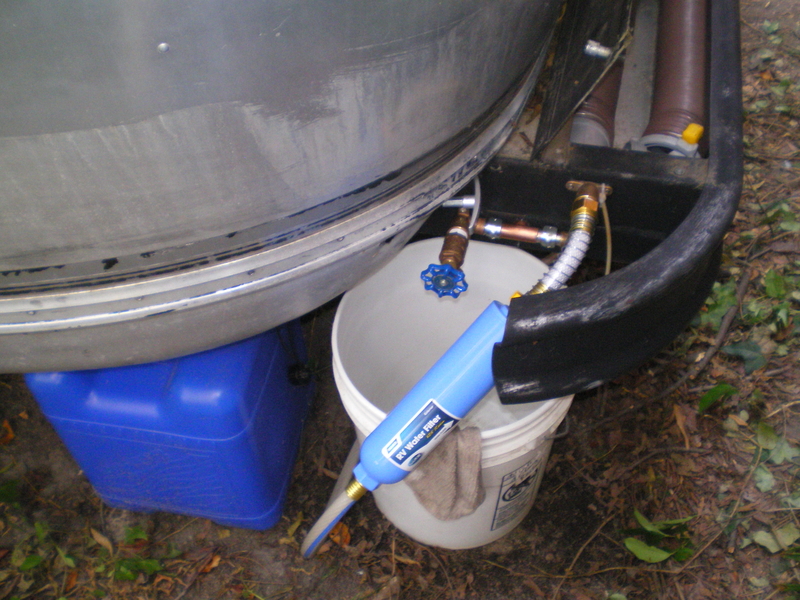
Still its so nice now that its all on. Its mounted to the side of the bumper with tappets. When we camp now, we have a small hose with a sprayer hooked up to the outside faucet, we can fill buckets, spray of the Kayak, shoes, feet, dogs etc… Its a nice addition, and, if we ever get to a real rally we are prepared. Of course you could do the same thing with a 1.50 splitter, but, hey!!!