Ok, now for the Arduino, yup, its got to happen. I debated and debated, but I gave in to my own peer pressure. I just had to put a microcontroller on our control panel, it only makes sense 😉

I started out thinking I was going to do this with a small Arduino Fio the main reason being the wireless programming. I reasoned that if its locked away inside the control panel, wireless programming would be really nice, and I could use the ZigBee connection to relay sensor data through a serial terminal program. Turns out the Fios 3.3V operating voltage is kind of limiting. It would require another power supply and then most of the sensors would need voltage level conversion. I decided in the end to just go with a garden variety Arduino.
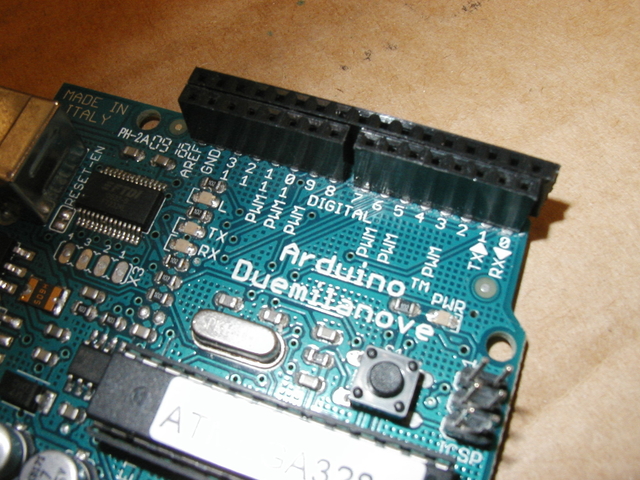
The first step was getting it mounted on some type of development board. I have a good supply of .1 hole spaced stripboard but as many of you may know the Arduinos pin spacing on one side is non standard. Its been described as an 11th hour design mistake, and now there are scads of shields and other hardware available with this pin out so there is no going back.
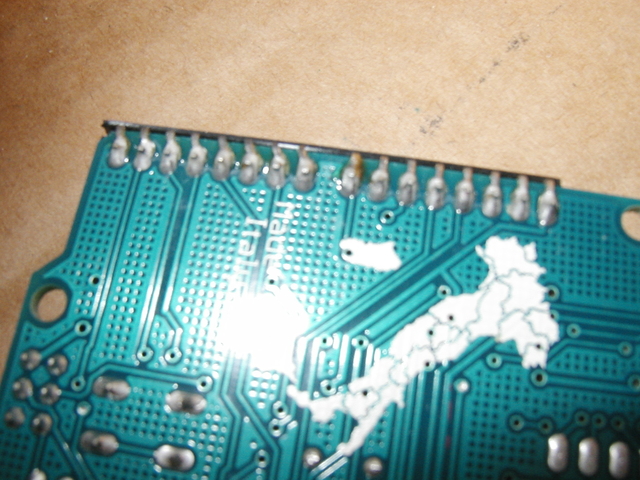
Careful digging turned up this clever hack, where you solder another row of female headers next to the existing non standard ones and just angle each of the pins over to join with the existing ones. This trick gives you a standard pin out row, just offset .1 inches from the original, it works a treat.
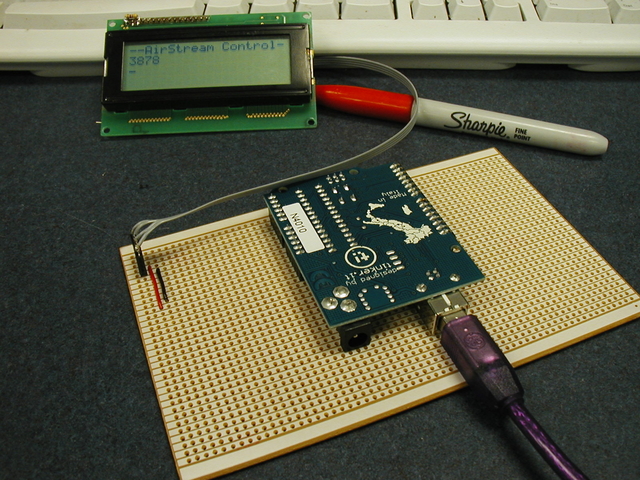
Now all you have to do is add the matching header pins to the stripboard and you you can plug the Arduino in upside down and have a large prototyping area to work with.
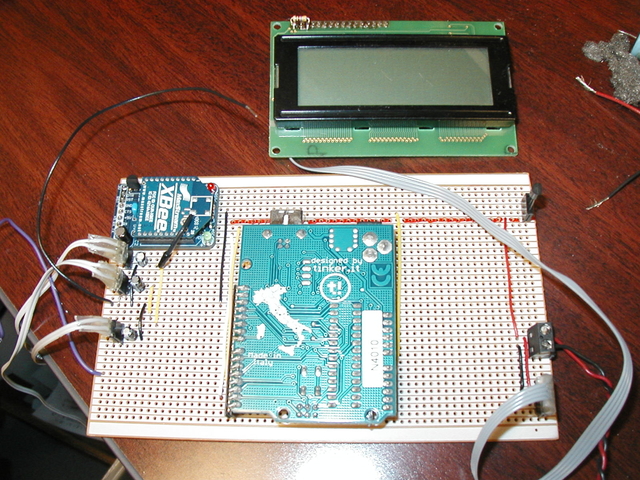
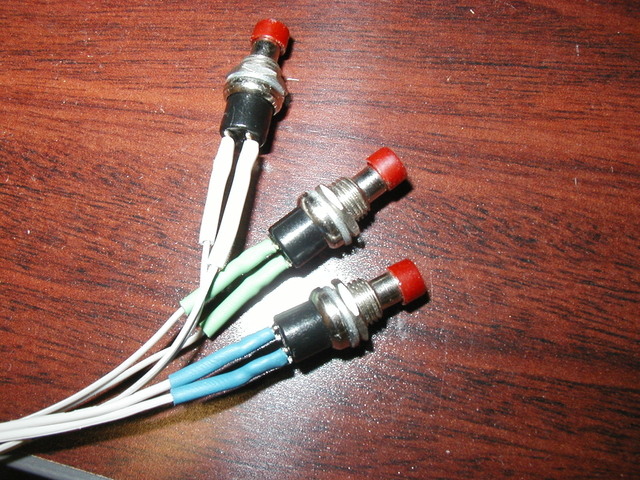
I added a ZigBee on an Adafruit carrier, an LCD and a temperature sensor and some buttons. I find this stripboard about the easiest to deal with prototyping system, but you have to be careful and watch what your doing or you can end up with some things in contact that shouldn’t be.
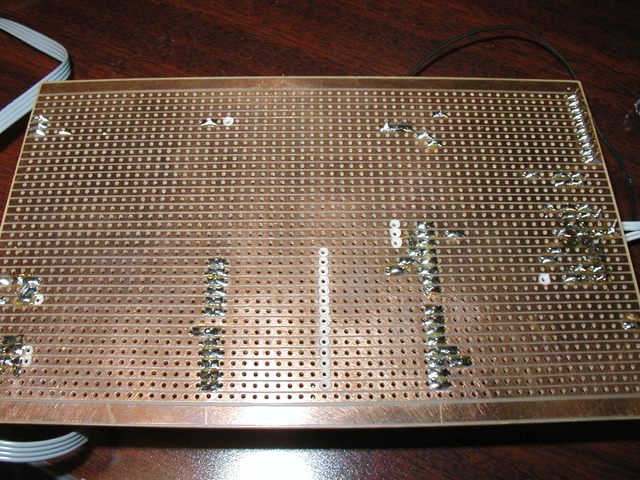
Still thats a lot of stuff wired up with very few jumper wires, there are some pullup resistors under the Arduino that you can’t see in the photos that are used for the buttons. And the back so you can see how clean stripboard can be…
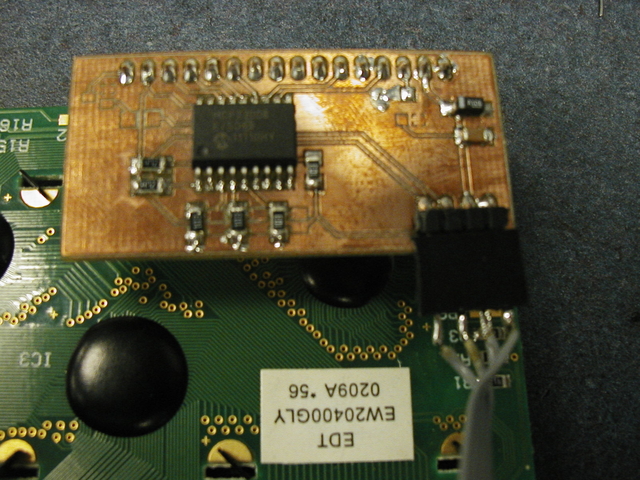
The screen is being driven with a custom board and I2C, its based on the LCD backpack from Adafruit. Its a great deal, I just decided to make my own version, so I can use them in future projects.
So far, I can send wireless temperature measurements and print things to the computer, the LCD, or the wireless network. Hopefully in the future I can incorporate more sensors, like GPS, water level, humidity, pressure and possibly even control some lights and such. For now this will be a work in progress…
