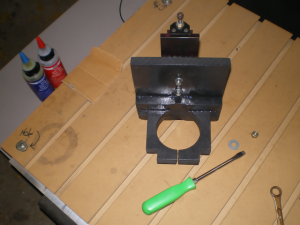
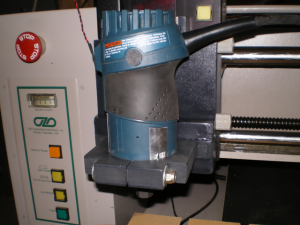
Its time now to build a custom piece of hardware to mount the router to the OZO. Research on the web indicated that people were using MDF for this kind of work. Its dimensionally stable, and easy to machine, though the dust can be kind of toxic. I’ve never worked much with MDF before, preferring real wood or plywood to this glued up particle board.
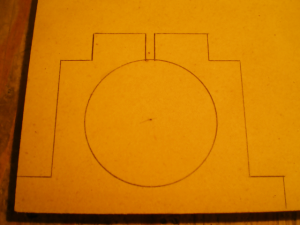
Being an avid scrounger, however, there where a few pieces laying around the shop. So, I decided to use it as the base material for this build. Since I didn’t have a long enough endmill to make it all the way through the 3/4″ material and didn’t know if the current spindle would be up to the task anyway, I made it the old fashioned way, with hand tools and brute force. First I drew the design in Rhino, then, printed and transferred it to the wood with carbon paper.
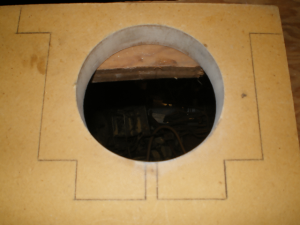
The next trick was getting the hole cut in the wood. I started with a large, cheap, wobbly, hole saw from harbor freight, slightly smaller then the final hole size. After the initial hole was punched out, I used a course rasp drill bit to bring the hole to very near the final dimension, then finished with sand paper. After much effort, trying to fit the router, marking the tight spots, sanding them down, etc… I finally got the the router to slide smoothly into the hole.
At this point the entire shop was covered in micro fine particle dust from the MDF.
A jigsaw was then used to cut out the overall shape. I clamped a piece of angle aluminum to the board to act as a guide for the saw. The cuts made using the guide were pretty straight, however the smaller cuts that I made by hand, wobbled off course quite a bit, also the saw angle from top to bottom was hard to control and resulted in some uneven cuts. Next I devised a clamp for the mount so I could drill a straight hole. This made me very nervous considering the amount of time I had just spent making the larger hole perfect.
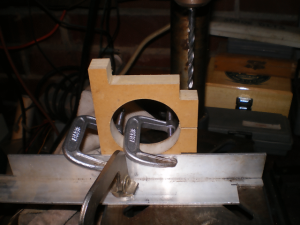
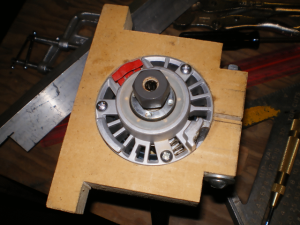
Here is a shot after the hole is drilled with the bolt inserted and the router clamped down.
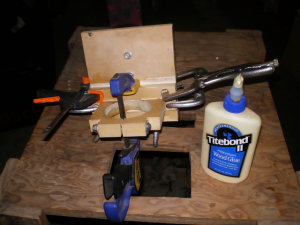
At this point I was starting to regret my choice for using the MDF. I should have made everything wider and thicker to accommodate the bolts/screws. It seemed too weak to just bolt to a back plane. I cut some small support strips and glued the whole mess together. Ahhhhhh Clamps, MMMMMmmmmmmmhhhhhaaaaahhhh!!!
Finally I sanded a bit, added some black paint, and mounted it to the machine. I used the aluminum bracket from the back of the Bomb Scope that came with the machine to slide my new mount into the Z-Axis slot. Its just been sitting on a shelf since I got the machine, and for now at least I don’t have a good method for machining the angled slots needed to make my own. It looks good, but has a bit of flex, not an extremely rigid mount. I will probably be remaking this out of aluminum one day, using this mount to machine the next one.
After I got it on the machine, and clamped in the router, I noticed a small hair line crack spread as I tightened the clamping bolt. Arrrggggghhhh!!! I will have to rethink my dimensions if I ever do build with MDF again. For now I slathered on a nice thick layer of epoxy, and am calling it good. I think it will hold up for a while at least 😉
