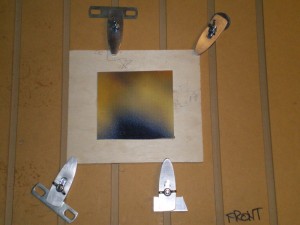
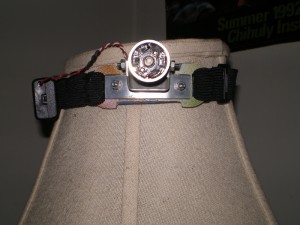
A long while back I put together a headlamp using a luxeon star 3 watt LED and some driver electronics from Ladyada. Everything worked fine and life was good. Recently however, when I reached for my trusty friend I found the strap dangling loosely. One of only a few plastic pieces on the light had snapped.
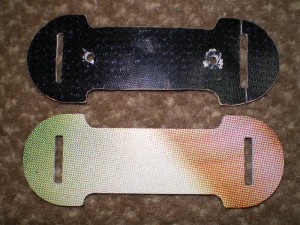
Originally, when I made the light, I drew the plastic bracket in a 2D CAD program and then printed onto paper, traced it onto plastic and then cut it out with an exacto blade. Now times have changed and I wanted to use the OZO to make another one.
First, I considered making the piece out of aluminum, however the plastic had held up relativity well for a few years of daily use. Also, if I made a production file for the machine, it would be very easy to make another if it broke again. Interesting how your views about plastic parts change when you have the ability to make your own steady stream of them.
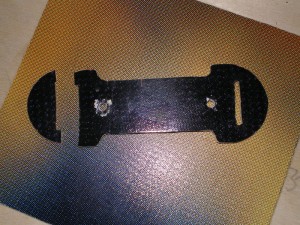
It took only about an hour, to measure, draw, and cut a replacement. One snag with the bit melting the plastic.. I tried to free this ball with pliers and broke the bit. Plastic and me still are having issues. Research on the subject revealed that I may want to switch to Upcut milling instead of traditional in order to cleanly remove the swarf.
It looks like I may have to just sit down and play with feed rates and spindle speeds until I work this out. I am pretty sure that the burr bit was not the one to pick for this task either. Still…
flashlight.ngc Gcode for the plastic bracket
flashlight.3dm Rhino drawing file
Tags: OZO CNC Rebuild


